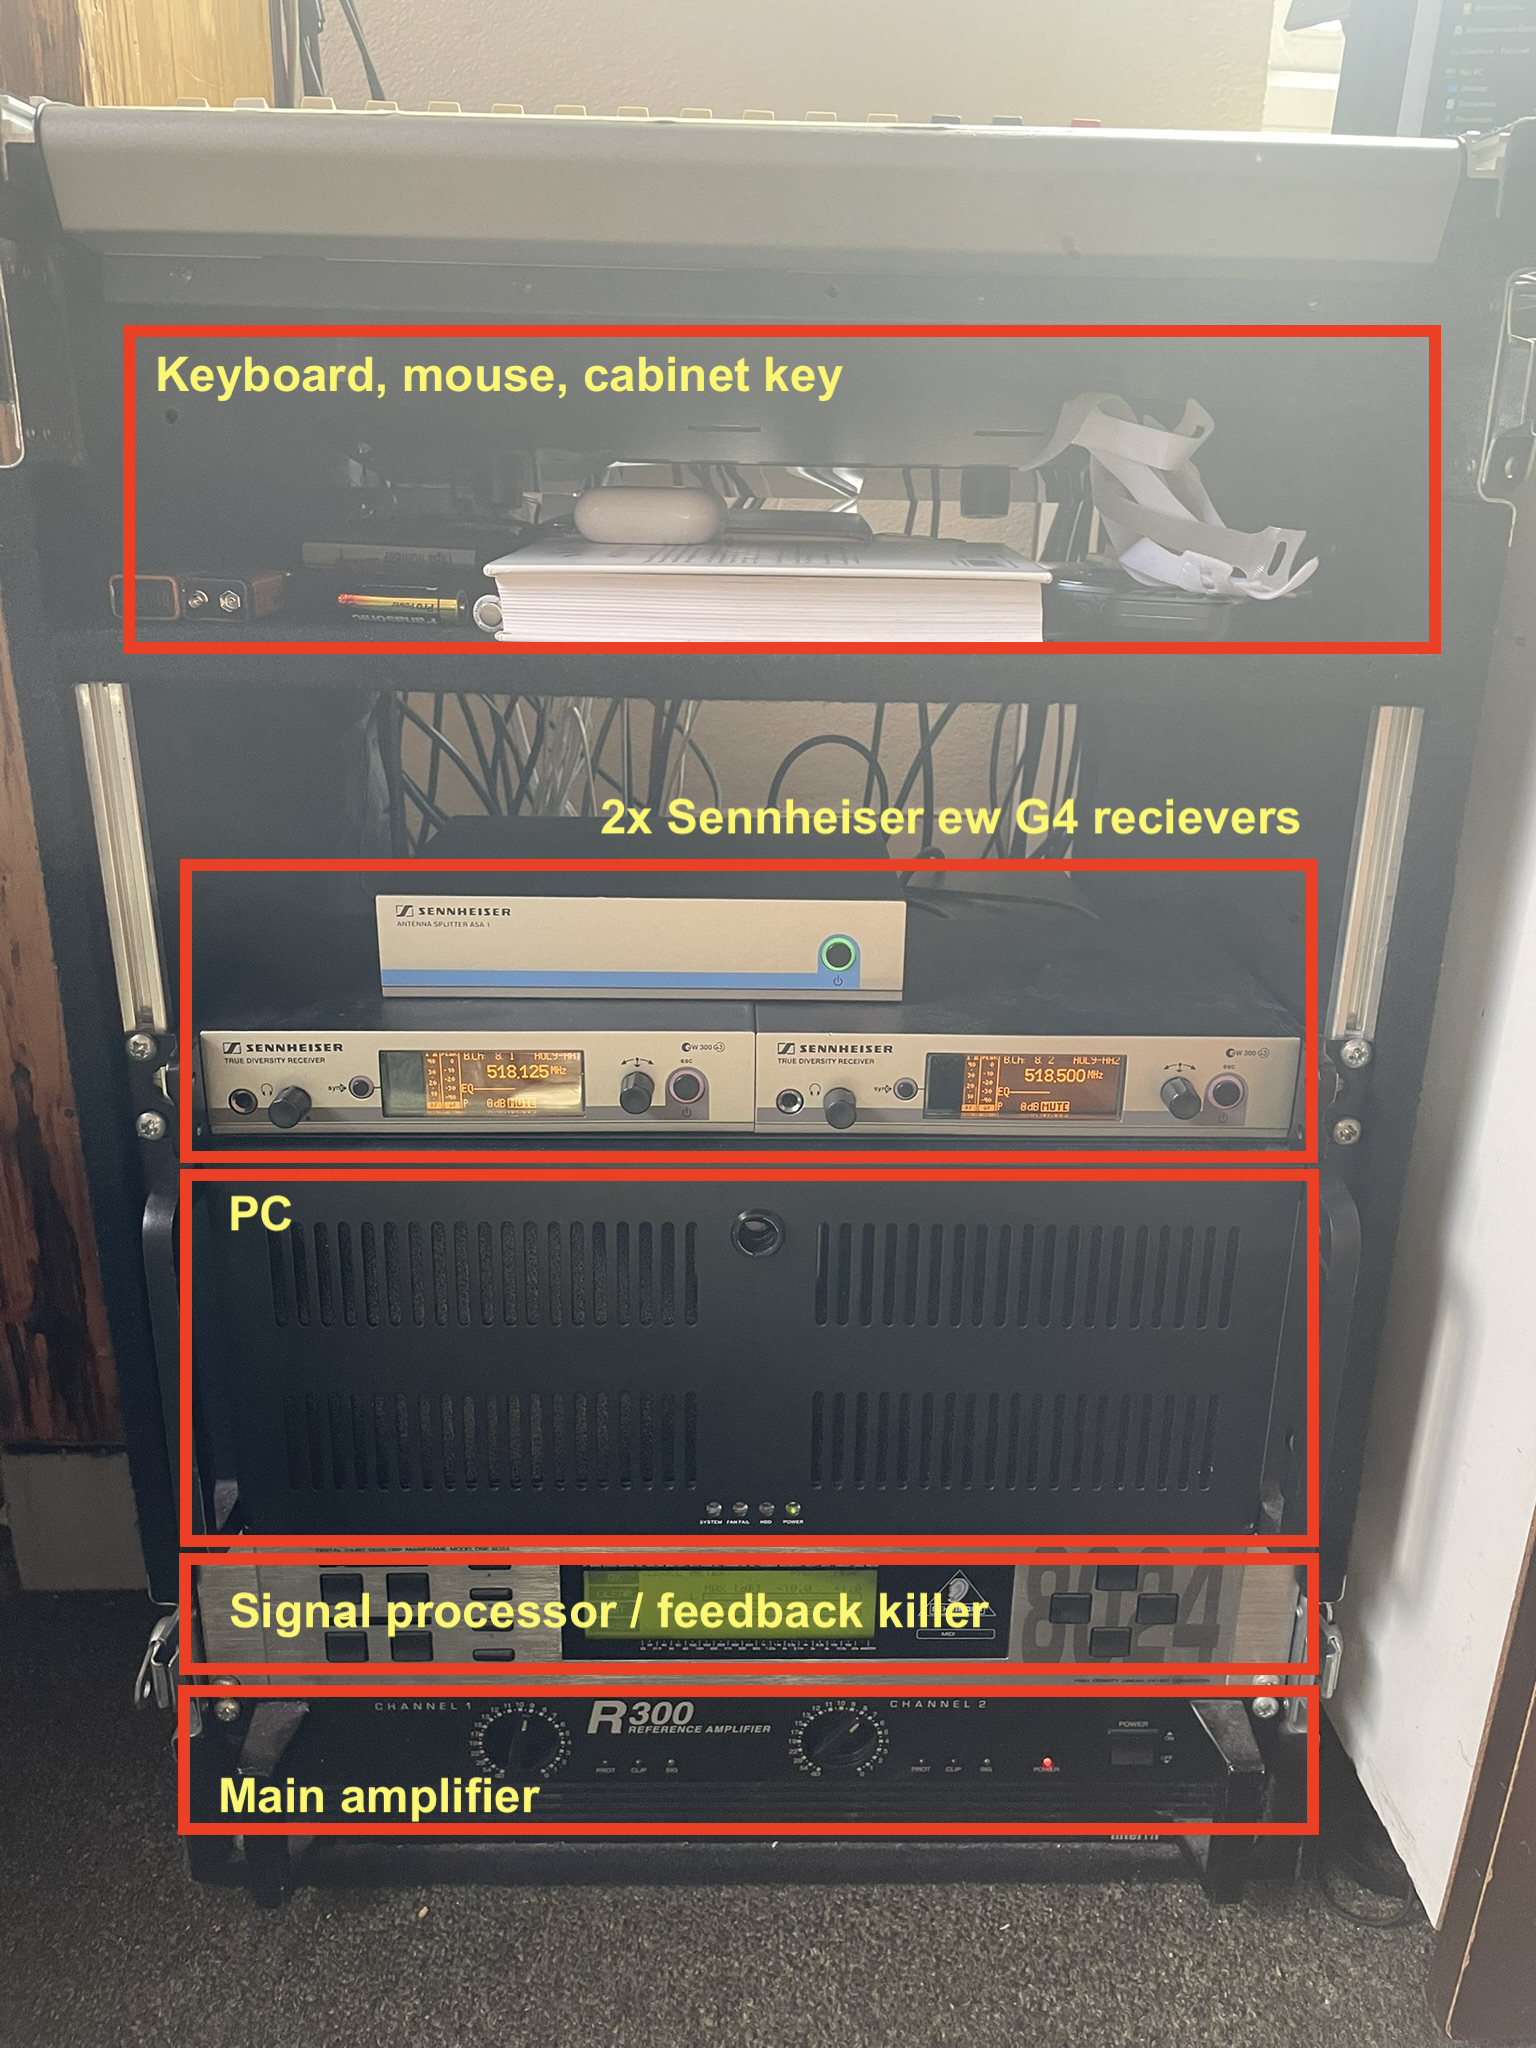
Open the flight case
The flight case contains the devices shown
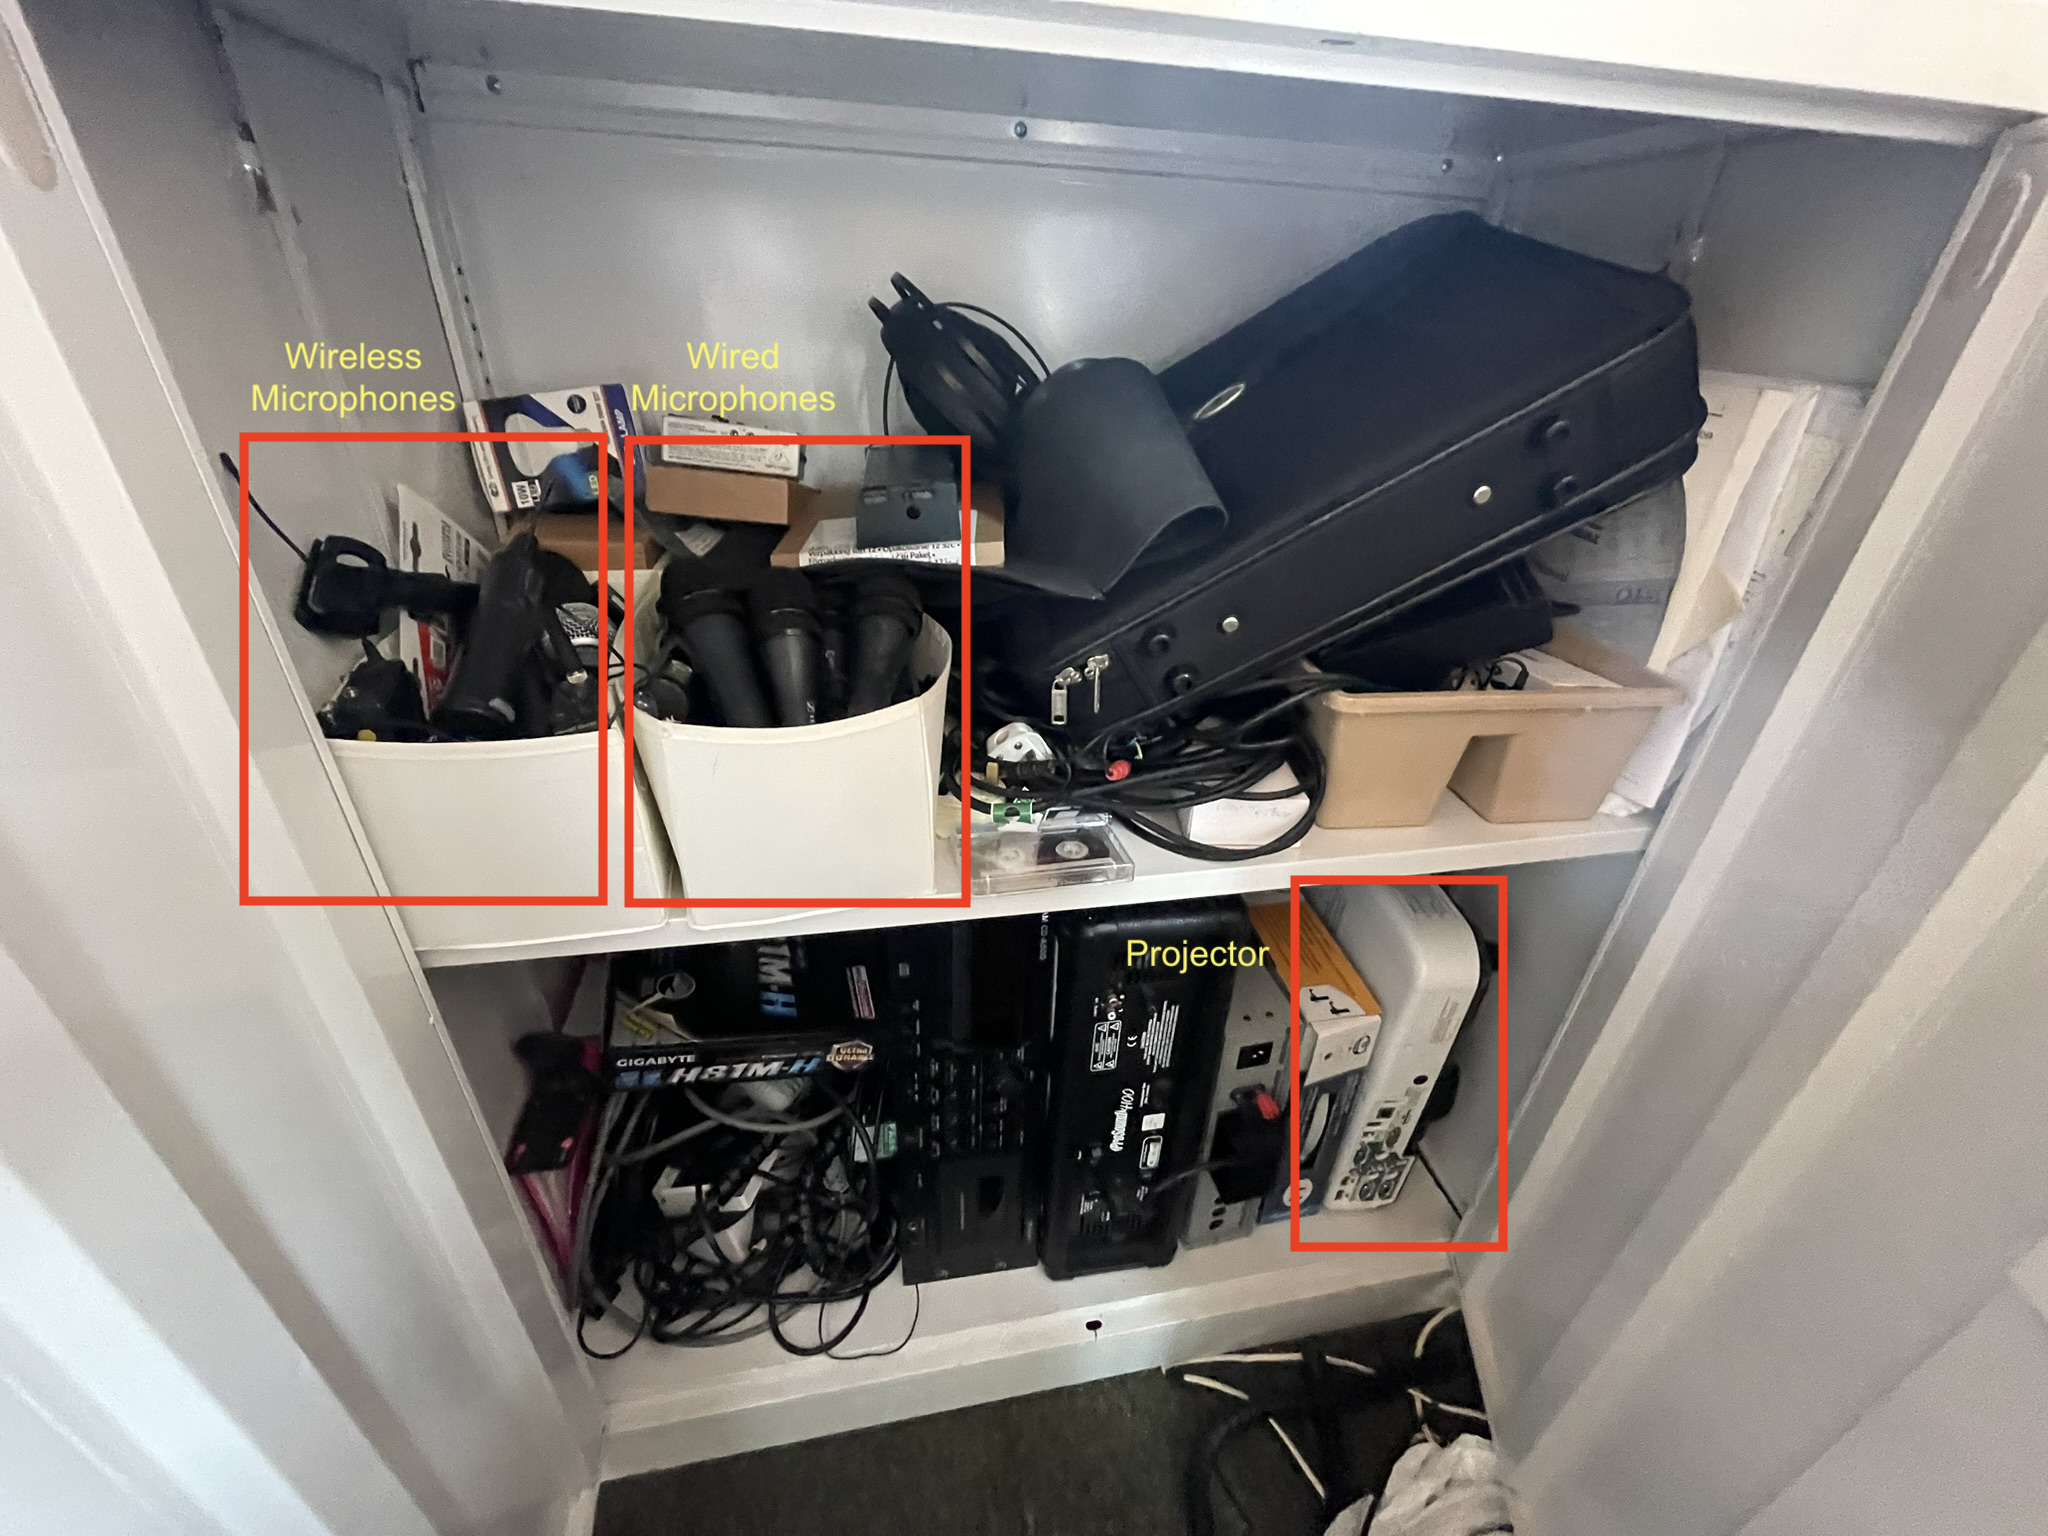
Open the cabinet
The key for the cabinet will be found in the flight case.
The cabinet contains microphones and the projector.
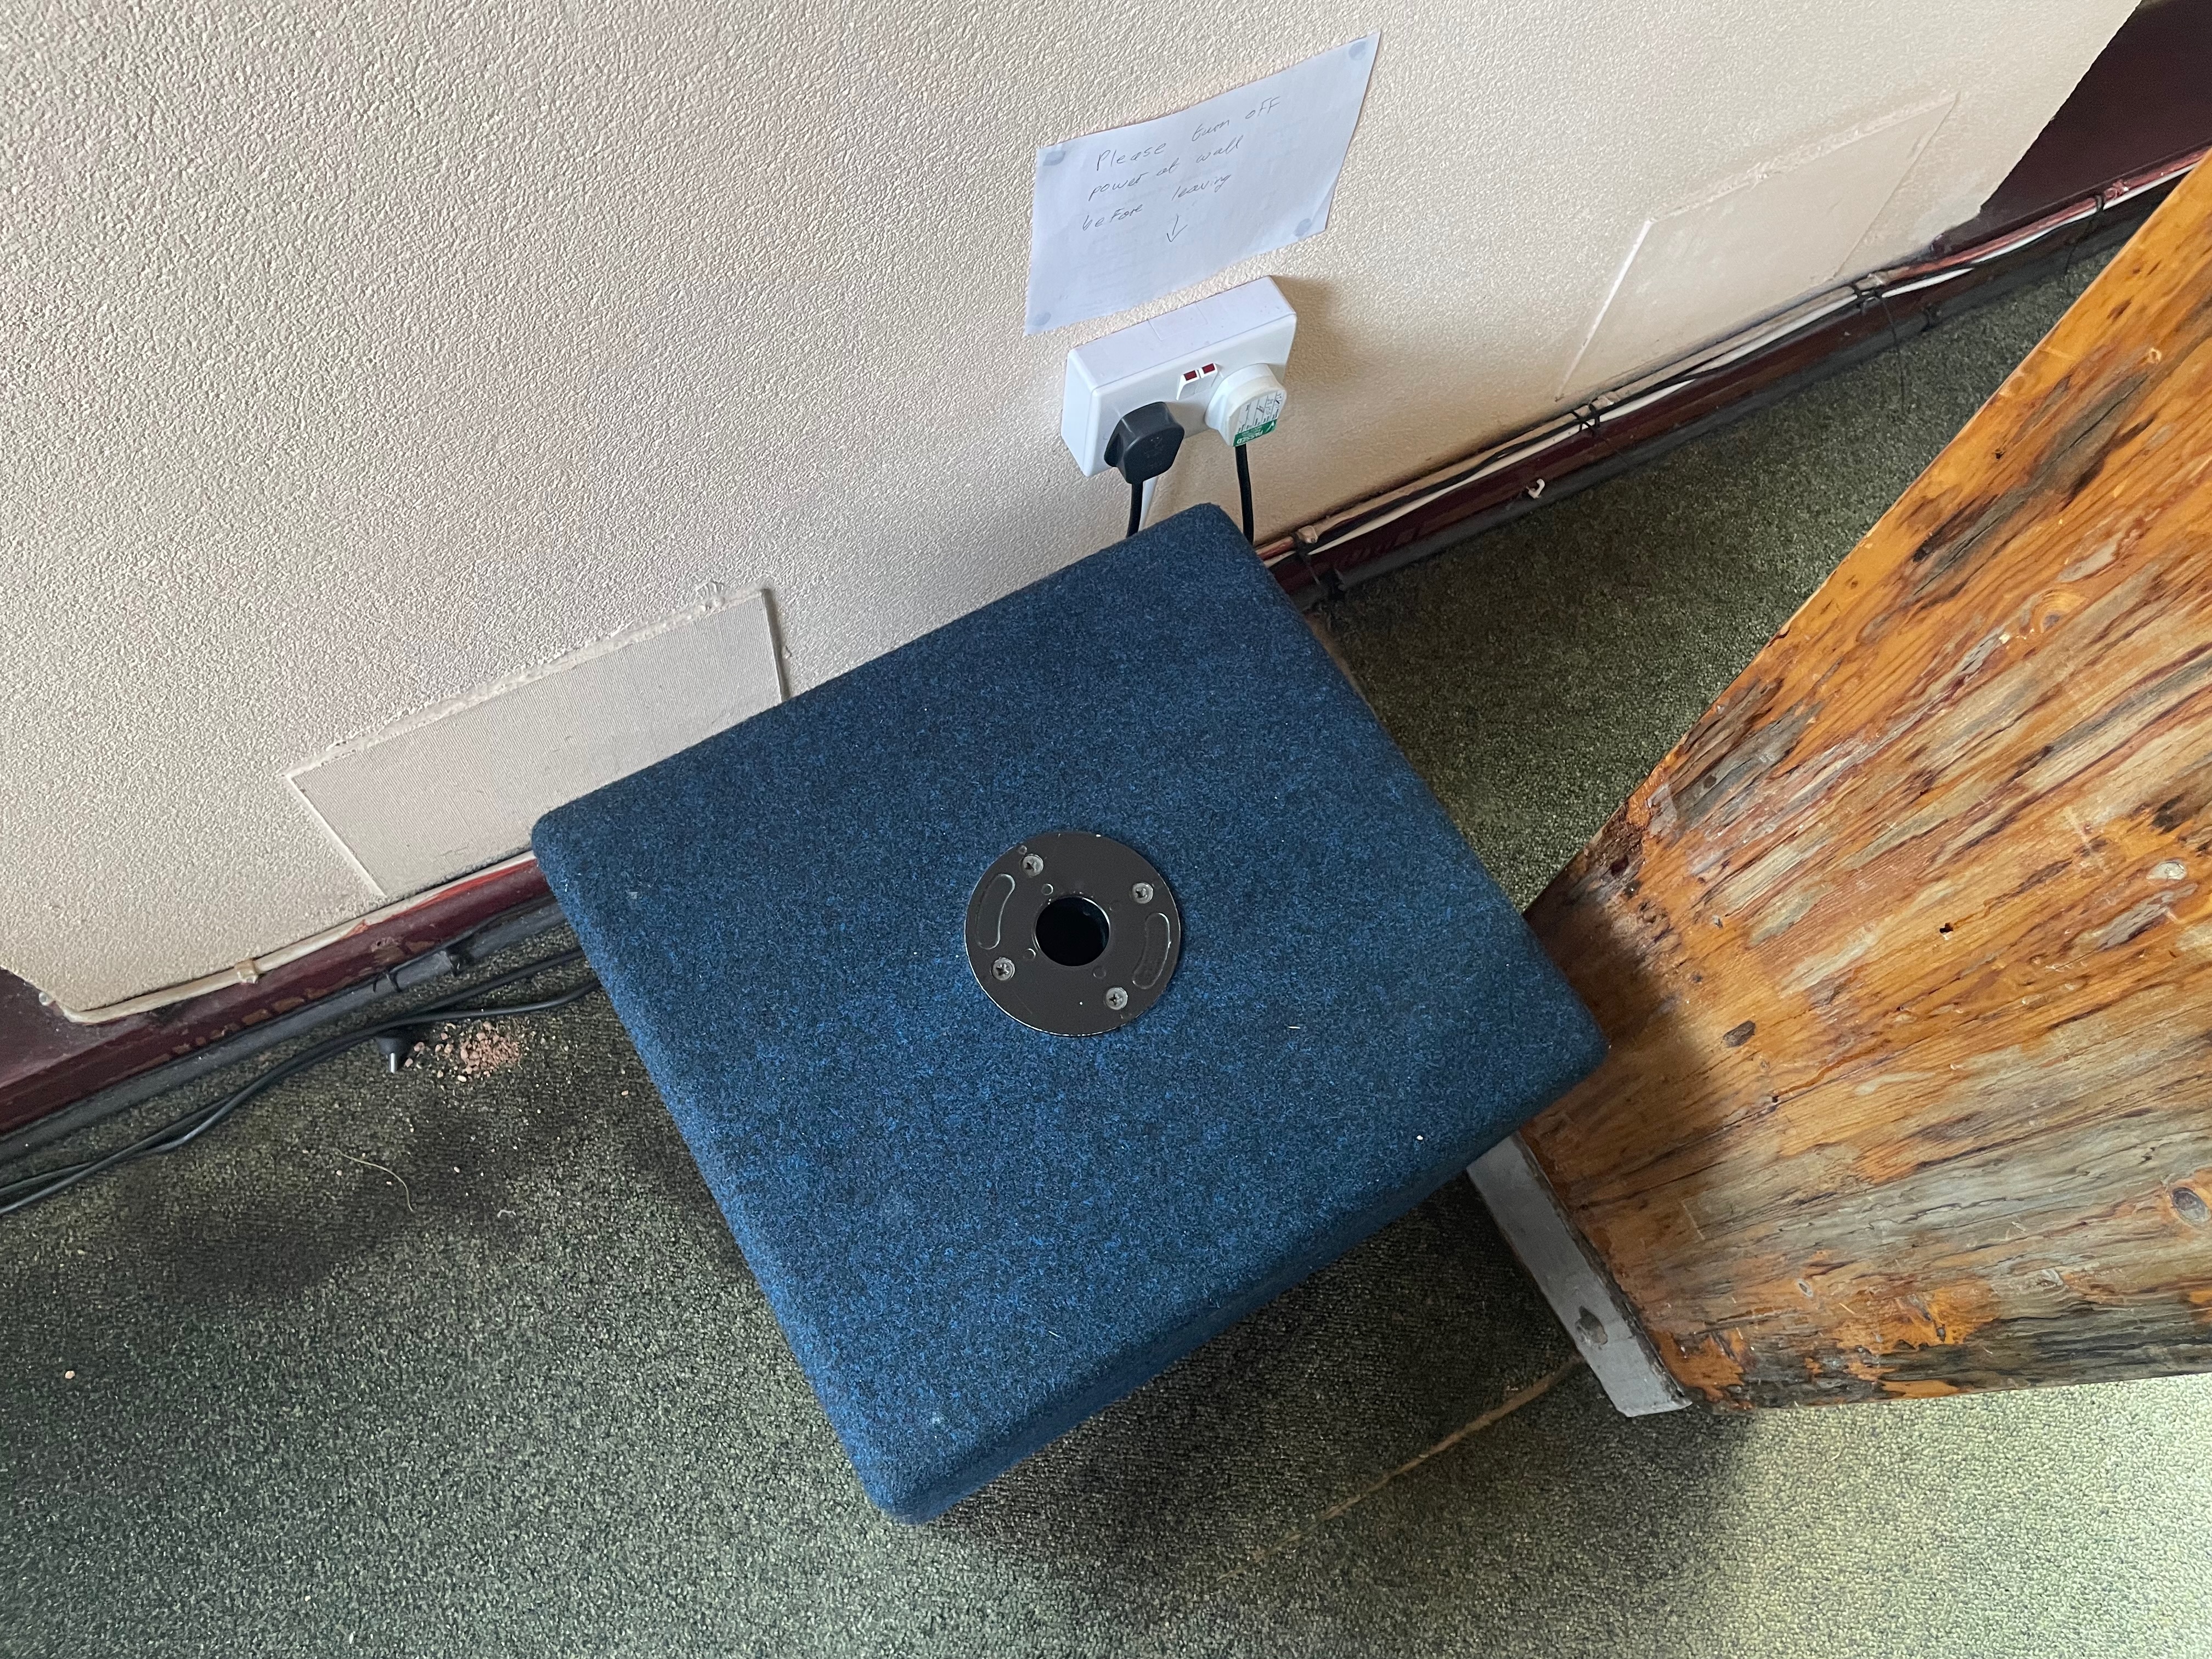
Turn the power on
Plugs are located next to the pillar in front of the desk. Plug them in and turn them on.
Turn on the main amplifier
Flick the right switch to turn it on.
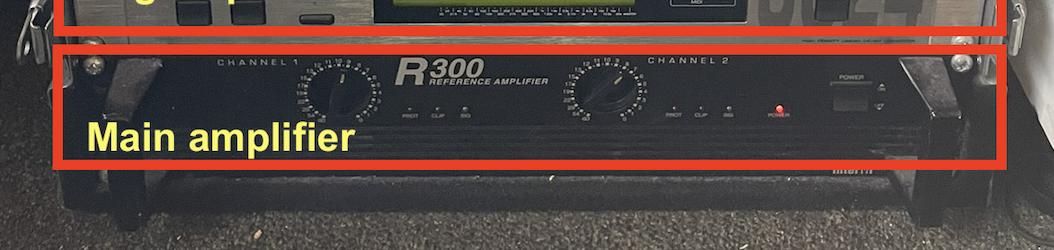
Warning
You do not need to adjust the levels on the amplifier
Turn on the PC
image needed Open the clover, then firmly press the switch in and release to turn on the PC. Take the mouse and keyboard out from the flight case and switch them on. The switch for the mouse is located on the bottom.
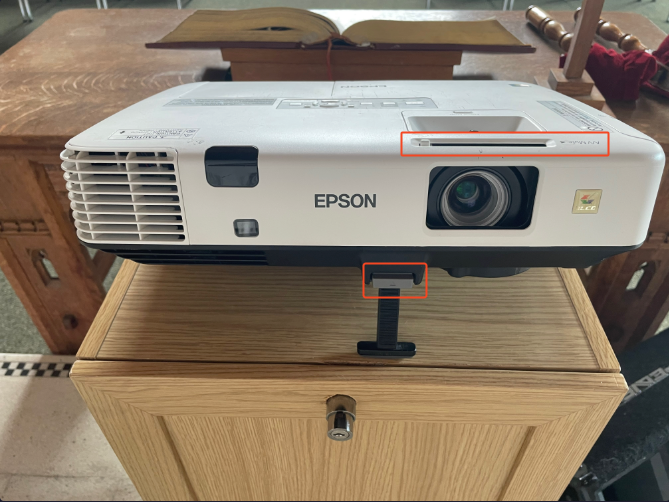
Set up the projector
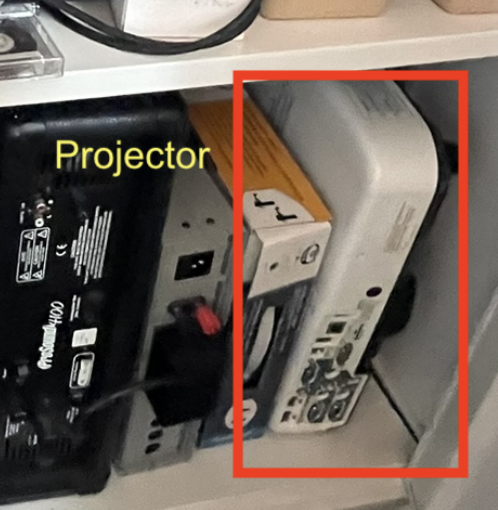
- Take the projector from the bottom row of the cabinet.
- Move it to the front and place it on the cabinet at the front.
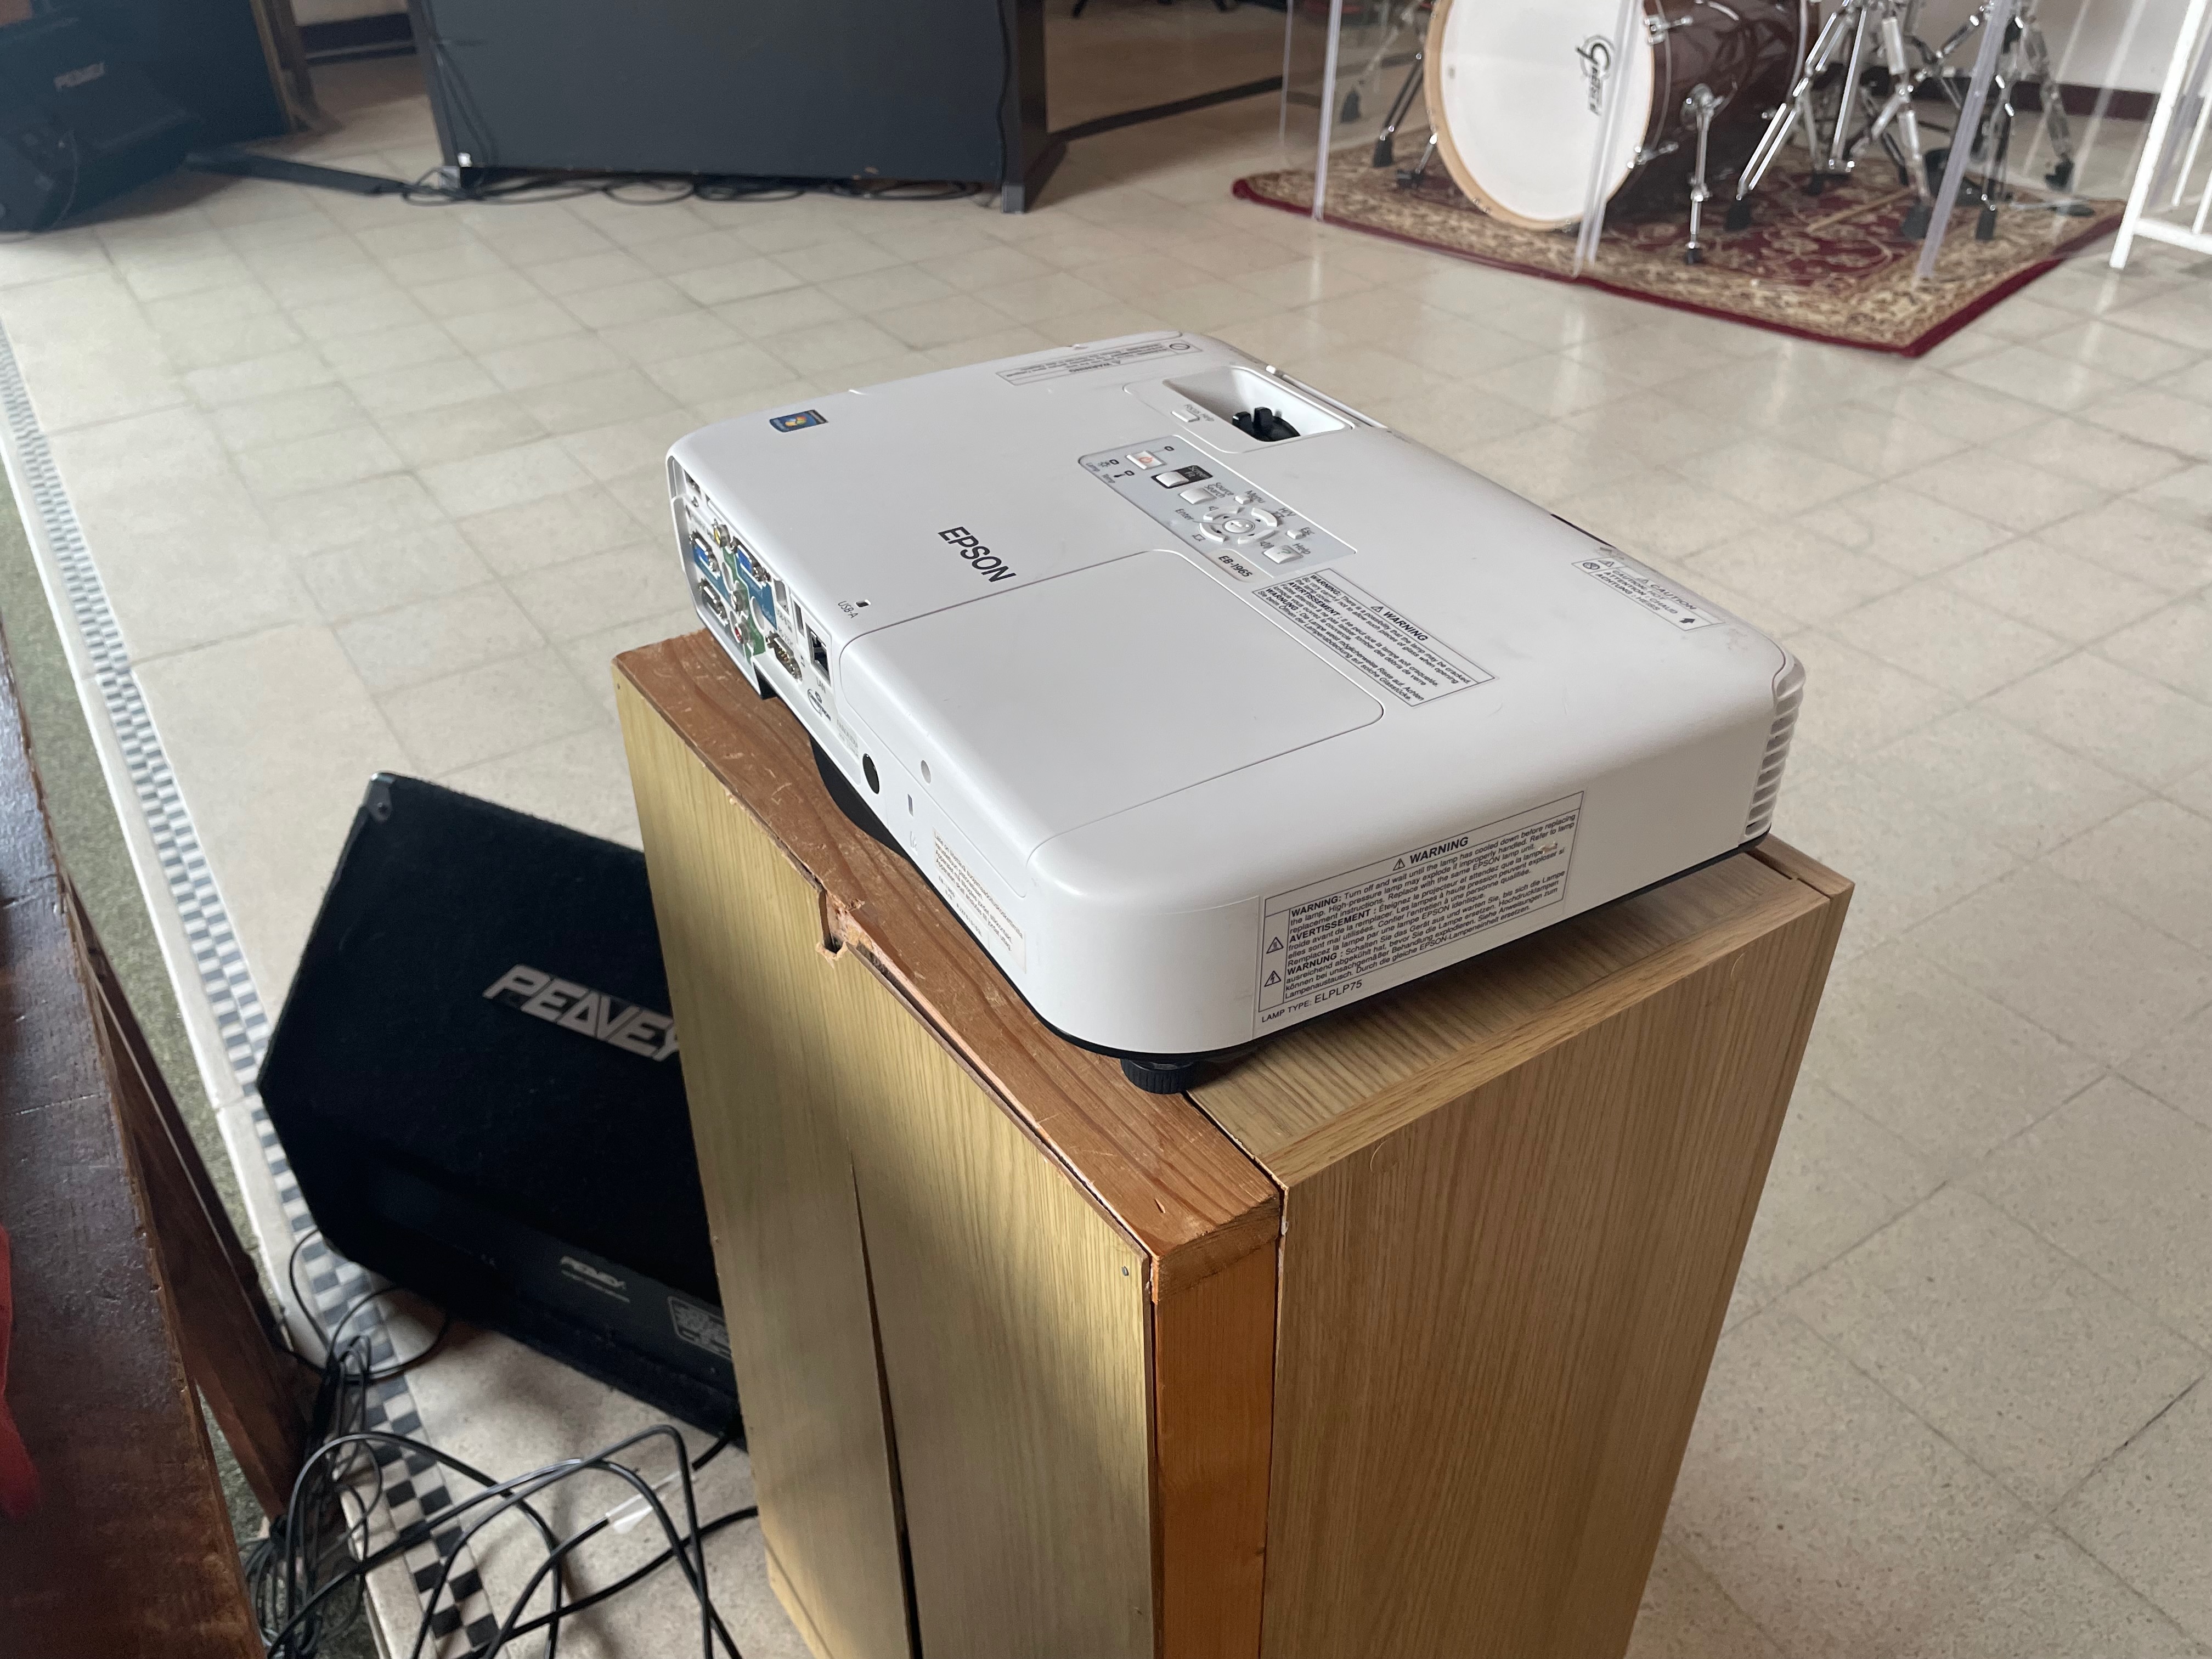
- Find the blue VGA and black power cable on the floor nearby.
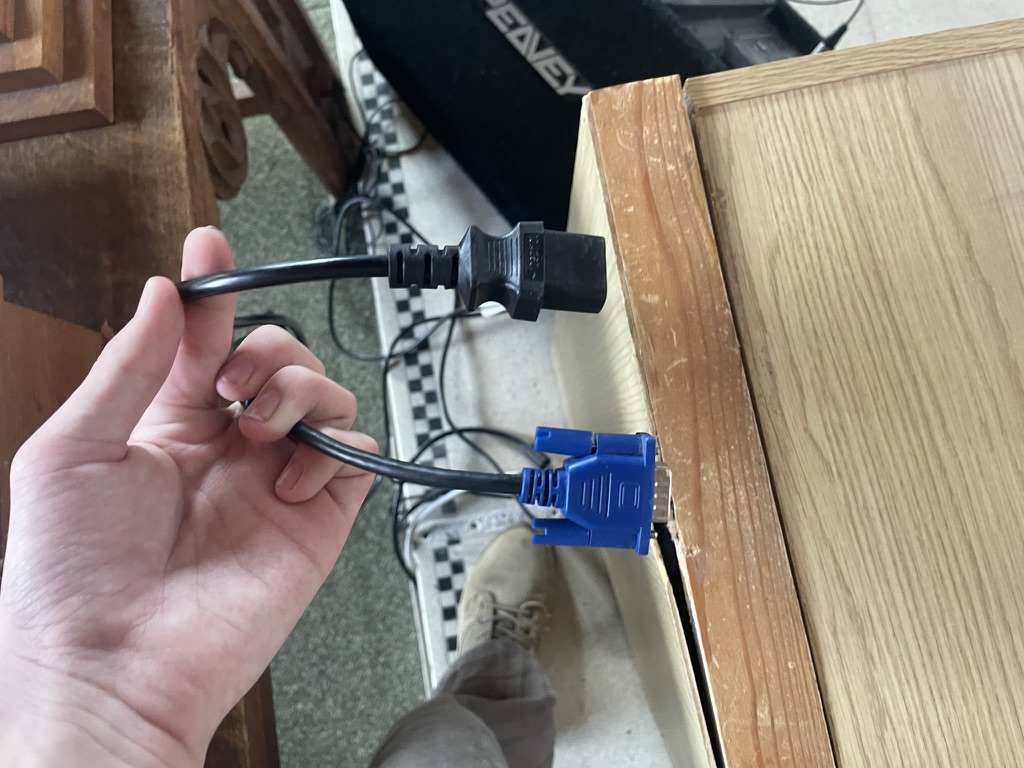
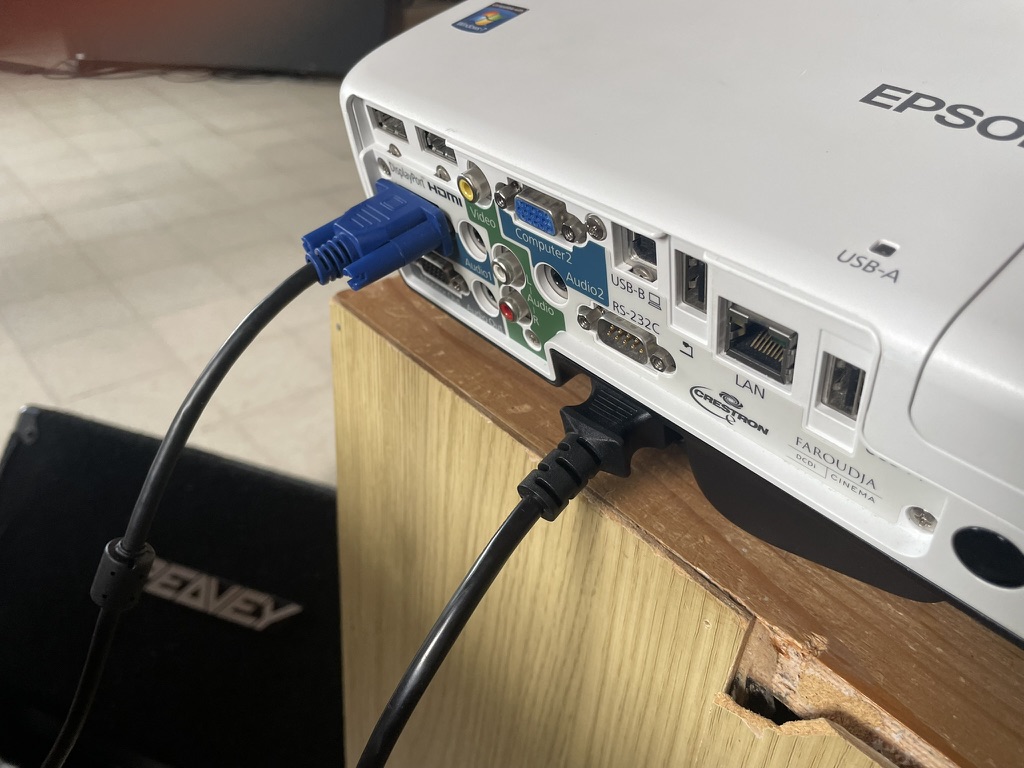
- Plugin the VGA cable to either Computer1 or Computer2, and plug in the power cable.
- Turn on the power at the wall to the right of the hall.
.jpeg)
- Release the front feet fully by pushing up the release button at the front, and slide the A/V mute slider to reveal the lens.
- Press the power button on the projector to turn it on and wait for it to warm up.
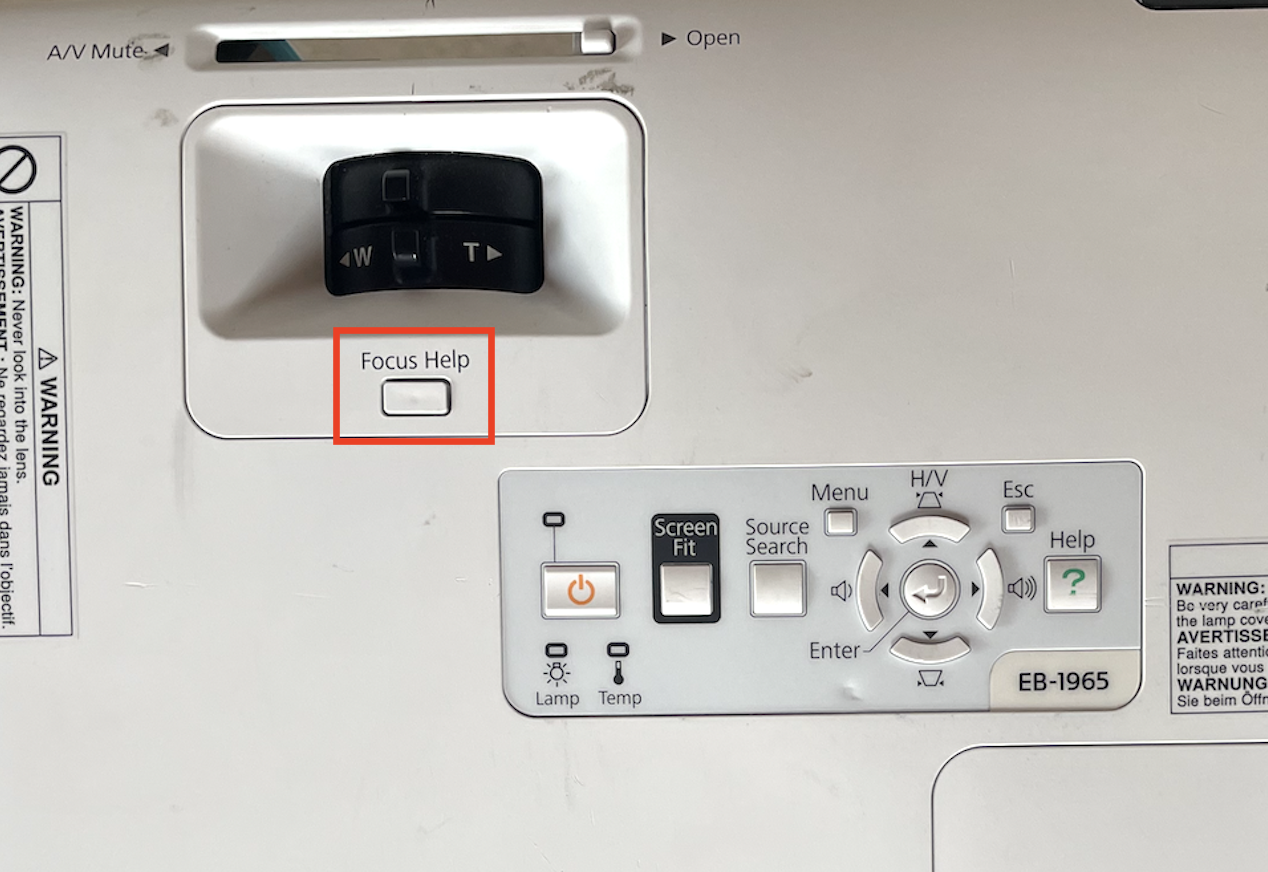
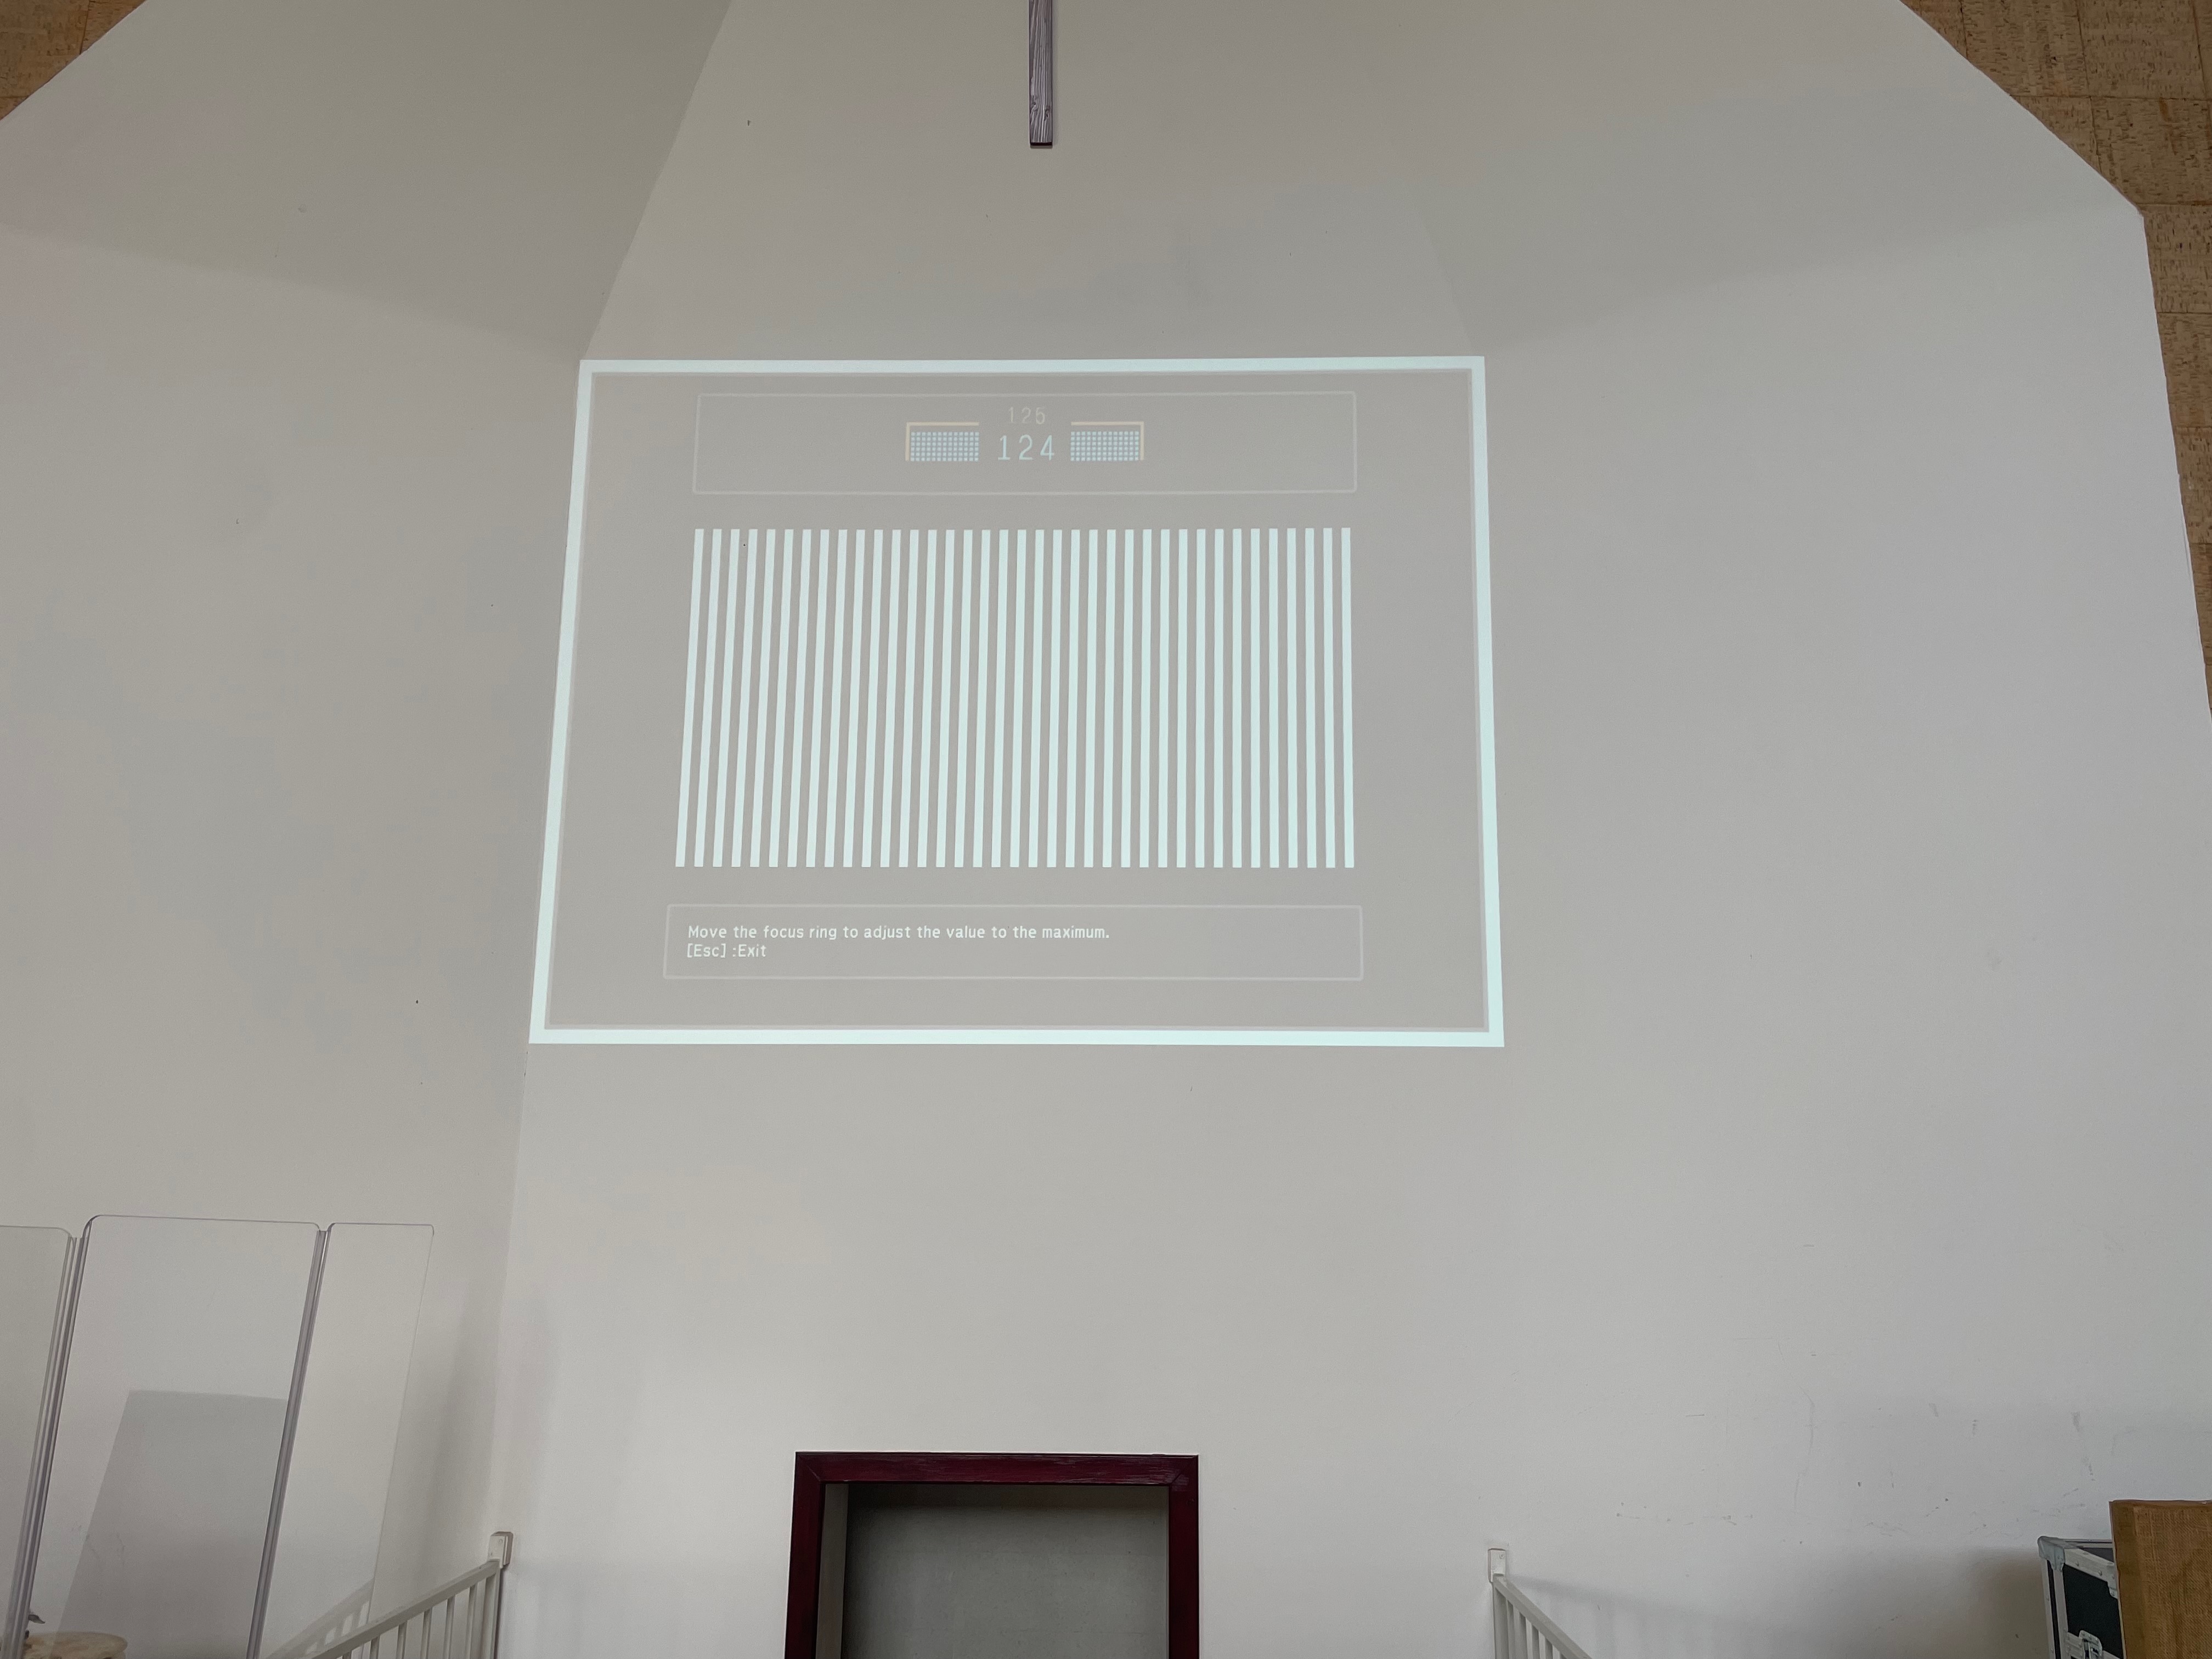
- Use the ‘Focus Help’ button on the projector to ensure it is aligned, and the image is not distorted. Press ‘Focus Help’ again to restore the image.
Turn on the foldback speakers
Info
If there are no live singers, this can be skipped.
.jpeg) For each foldback speaker, set the back switch to the ‘1’ position and ensure the power cable is fully plugged in.
For each foldback speaker, set the back switch to the ‘1’ position and ensure the power cable is fully plugged in.
After completing all of these steps, you can continue to: